Let's Talk !
 954 342 5676
Let's Talk !
954 342 5676
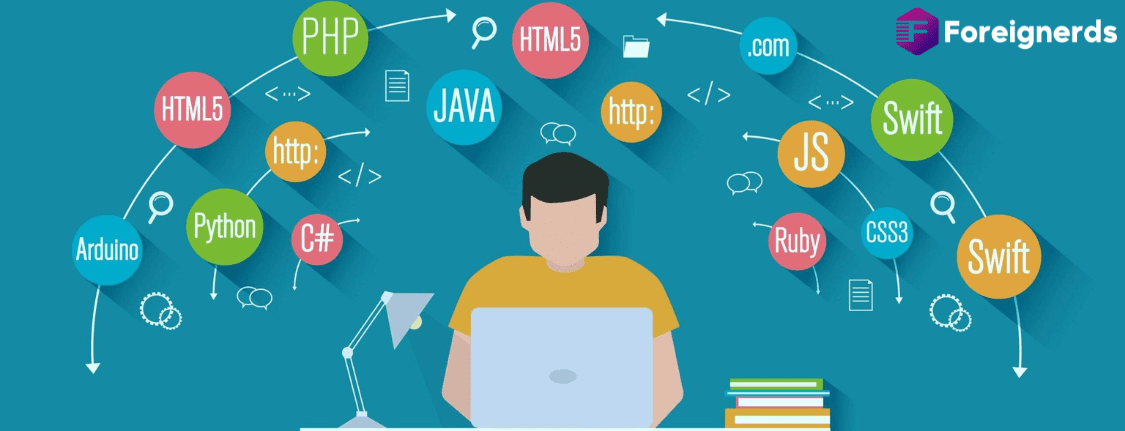
Local development environments are an essential part of a web developer’s toolkit. They provide a convenient way to work on web projects without the hassle of constantly uploading files via FTP for small updates. If you’re a web developer using PHP on a Windows machine, WAMP Server is a valuable tool for creating and managing a local development environment. In this comprehensive guide, we will walk you through the process of setting up WAMP Server for Windows and creating a local development environment with your own virtual host.
Local development environments save time and effort by allowing you to work on web projects directly on your computer. Instead of uploading files to a remote server for testing, you can make changes locally and instantly see the results. This efficiency is especially crucial for small updates like CSS changes.
To maintain an organized workflow, it’s advisable to create separate development environments for each project, complete with its domain and folder structure. This setup makes it easier to integrate with version control systems and manage multiple projects simultaneously.
Follow these steps to create a new local development site:
Step 1: Create Your Project Root Folder Start by creating a project folder in the ‘c:/wamp/www’ directory. This folder will serve as the root directory for your project.
Step 2: Set Up Your Virtual Host Navigate to ‘C:\wamp\bin\apache\apache2.4.9\conf\extra’ (note that your Apache version may differ). Open ‘httpd-vhosts.conf’ and configure a virtual host for your project. Replace references to ‘localhost’ with your project’s name (‘project1’) and ensure that the ‘DocumentRoot’ points to the folder you created.
Step 3: Update Your Hosts File Modify your local DNS settings to associate your project’s URL with your local server. This step ensures that your chosen URL (‘project1’) points to your project folder.
Step 4: Create a New Database (Optional) If your project requires a database, follow these steps:
Step 5: Restart All Services Restart WAMP Server to apply the changes made. This step ensures that your local development environment is properly configured.
With WAMP Server or similar tools, setting up a local development environment on your Windows machine is a straightforward process. By creating separate development environments for each project and configuring virtual hosts, you can efficiently manage and test your web projects locally. This approach saves time, enhances productivity, and ensures a smoother development experience. Enjoy the convenience of working on your web projects without the hassle of constant FTP uploads.
In case you encounter issues with DNS caching, we’ve provided instructions on how to flush your DNS to resolve any potential errors. Get started with your local development environment today, and streamline your web development process for increased efficiency and effectiveness.
We’re excited to hear all about your Brand!
We take immense satisfaction in all of our projects and will do anything we can to ensure the optimal results.
Let's Talk
© 2013 - 2025 Foreignerds. All Rights Reserved


