Exploring Vue 3: Features, Migration, and Best Practices
Introduction
Vue 3, the latest iteration of the Vue.js framework, brings a myriad of improvements, making it faster, smaller in file size, and boasting enhanced TypeScript support compared to its predecessors. This article delves into the core features of Vue 3, the breaking changes it introduces, and provides detailed insights into migrating from Vue 2. Additionally, we will explore the Vue 3 V-model and discuss its associated challenges.
Features of Vue 3
1. Composition API
One standout feature of Vue 3 is the Composition API, now integrated directly into the framework. Unlike Vue 2, where it’s available through the @vue/composition-api plugin, Vue 3 comes with Composition API pre-installed. This API enhances code organization and promotes code sharing and reuse. Developers can opt for the conventional Options API if the Composition API is not deemed necessary for a particular use case.
2. Suspense
Vue 3 introduces the Suspense feature, simplifying the handling of asynchronous operations, especially when fetching data from servers. This feature enables developers to render a default or backup component while awaiting the main component to fetch data. This is particularly useful for scenarios where API callbacks need to display content once fully loaded or show a loading notice during processing.
3. Multiple V-models
In Vue 3, the V-model, commonly used for two-way binding, undergoes a significant enhancement. While Vue 2 limited the binding of one V-model per component, Vue 3 removes this restriction, allowing developers to bind multiple V-models to custom components.
Breaking Changes of Vue 3
Vue 3 brings about several groundbreaking changes, and while an exhaustive list is beyond the scope of this article, exploring the official documentation is recommended. Some notable changes include:
1. Fragments
Vue 3 introduces support for Fragments, allowing the creation of components with multiple root nodes. This was not supported in older versions of Vue.
2. Teleport
The Teleport feature enables developers to render an HTML document in multiple DOM locations without additional components or global states.
3. Mounting
In Vue 3, when an application is mounted, the element’s innerHTML is replaced by the rendered content of the application. This simplifies the rendering process and enhances overall performance.
4. Filter Deprecation
Vue.js filters, widely used in Vue 2 for text formatting, are deprecated in Vue 3. The recommended alternative involves implementing similar functionality through methods or computed properties.
Migrating from Vue 2 to Vue 3
Migrating from Vue 2 to Vue 3 is a process facilitated by Vue’s migration build, allowing for a gradual transition while maintaining backward compatibility. The following steps outline the migration process:
1. Upgrade Vue and Include Compatibility Package
Begin by upgrading Vue and incorporating the compatibility package, easing the transition between versions.
2. Address Warnings
Resolve any warnings surfaced by the compatibility package. This step involves addressing issues that might hinder a smooth migration.
3. Update App’s Mounting
Adjust the app’s mounting process according to Vue 3 requirements.
4. Update Vue Plugins
Ensure that all Vue plugins, including vuex and vue-router, are updated to versions compatible with Vue 3.
5. Remove Compatibility Package
Once all issues are addressed, remove the compatibility package, signaling the completion of the migration process.
Getting Started with Vue 3
Before delving into Vue 3 development, ensure the following prerequisites are met:
- Node.js 16.15.1 LTS and above installed.
- A preferred code editor, with Visual Studio Code being a recommended choice.
- Vue’s latest version installed on your computer.
- Vue CLI 3.0 installed or updated using the command
npm update -g vue-cli.
Quick Set Up
Vue 3 projects can be set up using the command line or a graphical user interface (GUI) method.
Command Line Interface Technique
To initiate a new Vue project through the command line, execute the following command:
Follow the prompts to configure the project, select Vue versions, and choose additional features.
Graphical User Interface Technique
Graphical User Interface Technique
Alternatively, Vue CLI 3.0 provides a GUI tool for project management. Launch the GUI by running the following command:
bash
vue ui
Graphical User Interface Technique
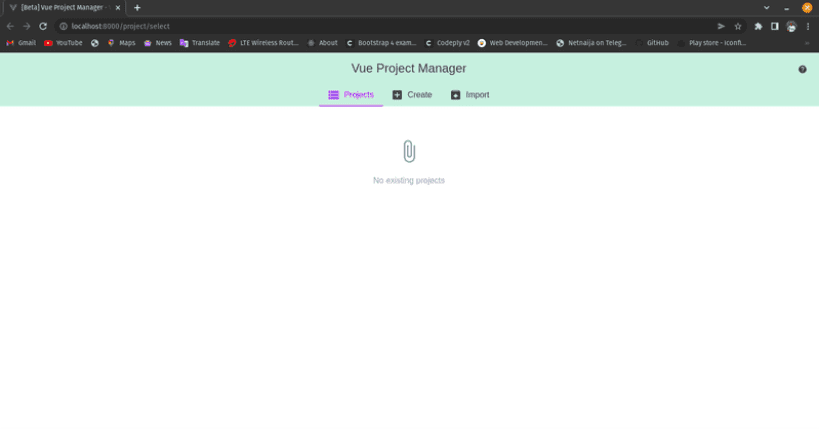
Navigate through the interface to create a new project, selecting presets and configuring project details.
Graphical User Interface Technique
Installing Plugins/Dependencies
Vue CLI 3.0 adopts a plugin-based architecture for project configuration. Both GUI and CLI methods can be employed to install plugins and dependencies.
Installing Plugins with GUI and CLI
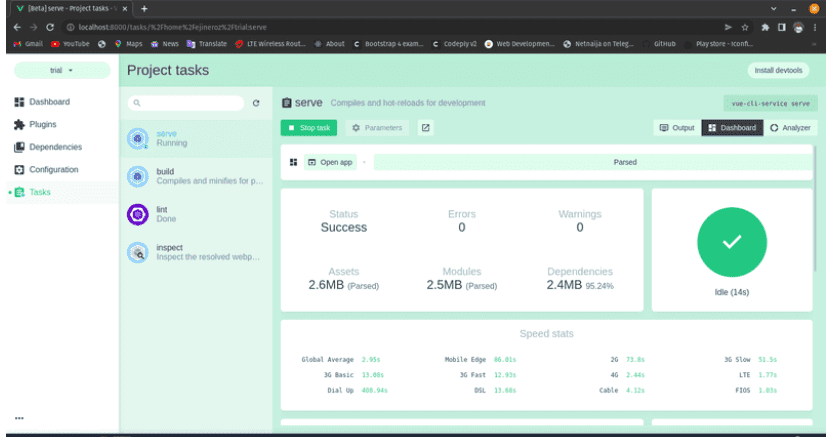
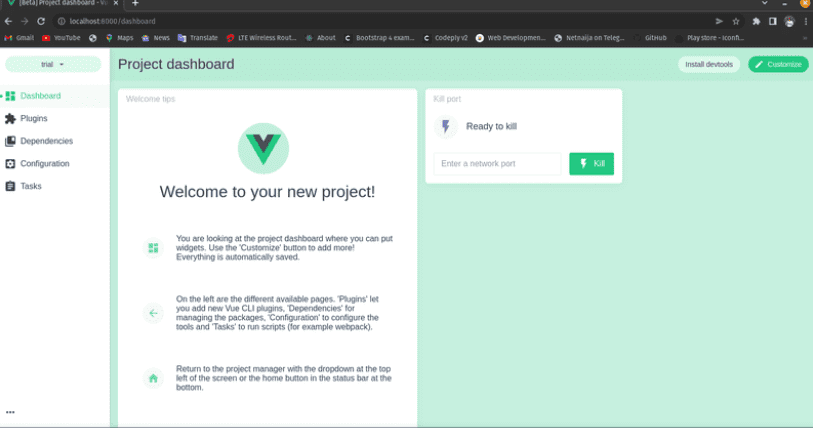
GUI: Access the project dashboard’s plugins section to manage and add plugins. The GUI simplifies the process, allowing users to search, select, and install plugins effortlessly.
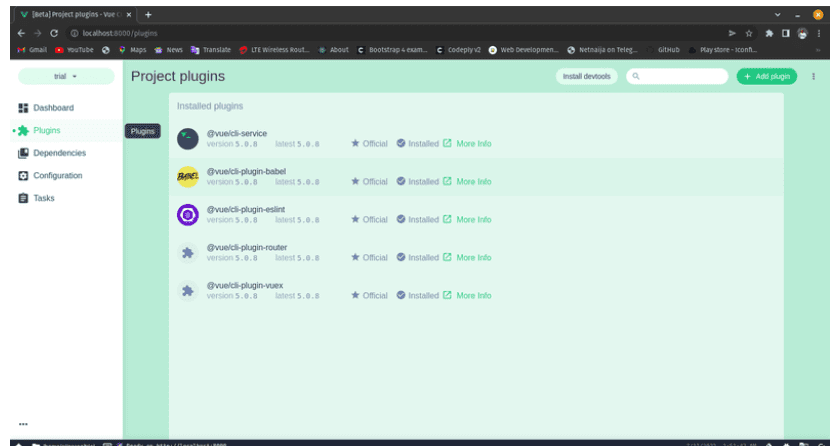
Graphical User Interface Technique
CLI: Use commands such as vue add <plugin-name> to install plugins via the command line. For instance, to install the Vuetify plugin, use:
Follow prompts to configure the plugin based on project requirements.
Installing Dependencies with GUI and CLI
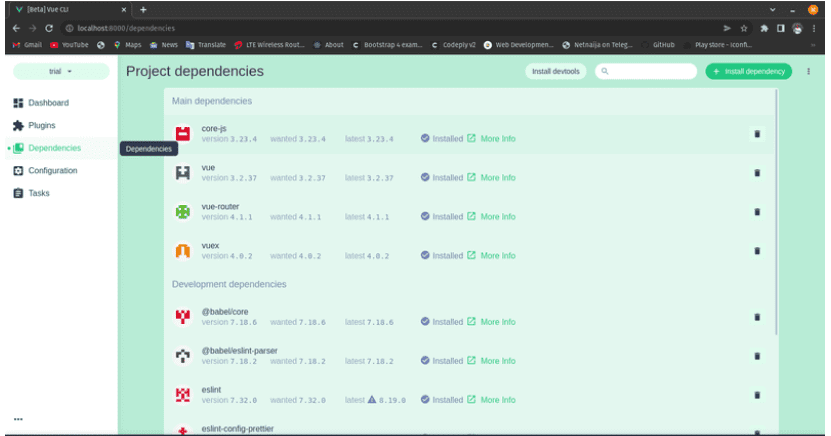
Graphical User Interface Technique
Dependencies, including core Vue requirements and development dependencies, can be managed through both GUI and CLI methods.
GUI: The project dashboard’s dependencies section enables users to install and manage dependencies conveniently.
CLI: Use commands like npm install <dependency-name> to install dependencies directly through the command line.
Creating a Single Vue Component
To demonstrate the simplicity of Vue 3 development, let’s create a basic Vue component named HelloWorld:
html
<template>
<div class="hello">
<h1>{{ msg }}</h1>
<h3>Installed CLI Plugins</h3>
<h3>Essential Links</h3>
<h3>Ecosystem</h3>
</div>
</template>
<script>
export default {
name: 'HelloWorld',
props: {
msg: String
}
}
</script>
Run the component on the development server using the command:
bash
vue serve helloWorld.vue
Vue 3 V-Model
Vue 3 introduces enhancements to the V-model directive, offering developers greater control and flexibility in creating custom components with two-way data binding. Custom inputs compatible with V-model can be crafted using custom events.
html
<script>
export default {
props: ['modelValue'],
emits: ['update:modelValue']
}
</script>
<input
:value=“modelValue”
@input=“$emit(‘update:modelValue’, $event.target.value)”
/>
</template>
This component can seamlessly integrate with V-model:
html
<CustomInput v-model="name" />
Problems with Vue 3
While the migration process from Vue 2 to Vue 3 is generally smooth, certain limitations and considerations should be acknowledged:
- Internet Explorer 11 Support: Vue 3 officially drops support for Internet Explorer 11. If IE11 compatibility is crucial, sticking with Vue 2 is recommended.
- Server-Side Rendering: Migrating a custom server-side rendering (SSR) system to Vue 3 can be challenging. Consider using the migration build or waiting for Nuxt 3 if SSR is a critical requirement.
- Dependencies relying on Vue 2 internal APIs: Some dependencies, especially those relying on undocumented or internal APIs of Vue 2, may not be immediately compatible with Vue 3. Waiting for updated versions compatible with Vue 3 is advisable.
When to Use Vue 3
Vue 3 is the preferred choice in the following scenarios:
- Better TypeScript Support: Vue 3 offers superior TypeScript support compared to its predecessor, making it the go-to option for TypeScript-heavy projects.
- Performance Optimization: If performance remains a concern despite optimizations in Vue 2, transitioning to Vue 3 can lead to improved performance, thanks to Vue 3’s ground-up redesign.
- Dependency Compatibility: If project dependencies seamlessly support Vue 3, opting for the latest version is recommended for leveraging enhanced features and improvements.
Conclusion
Vue 3 represents a significant evolution in the Vue.js framework, introducing groundbreaking features and improvements tailored for large-scale corporate software. With enhanced TypeScript support, better tree-shaking, reduced file size, and increased speed, Vue 3 is a compelling choice for modern web development. As developers transition from Vue 2 to Vue 3, careful consideration of breaking changes, migration steps, and utilization of new features ensures a smooth and efficient development experience.